Am i able to change my car brakes by myself?
Changing your car brakes might seem like a daunting task, especially if you're not particularly mechanically inclined. However, with the right knowledge and tools, it's a task that many car owners can tackle themselves. In this guide, we'll walk you through the process step by step, empowering you to take control of your vehicle's maintenance and potentially save some money in the process.

Understanding the Basics:
Before diving into the actual process of changing your car brakes, it's essential to understand the basics of how braking systems work. When you press the brake pedal, hydraulic pressure is applied to the brake calipers, which in turn squeeze the brake pads against the rotors, creating friction and slowing down the vehicle. Over time, the brake pads wear down, eventually requiring replacement to maintain optimal braking performance and safety.
Assessing Your Skills and Tools:
Changing your car brakes requires a certain level of mechanical aptitude and the right tools for the job. While some tasks can be relatively straightforward, others may require more advanced knowledge and equipment. Before proceeding, honestly assess your comfort level with automotive repairs and ensure you have access to the necessary tools, including:
- Jack and jack stands for safely lifting and supporting the vehicle
- Lug wrench or impact wrench for removing the wheels
- C-clamp or brake caliper tool for compressing the caliper piston
- Socket and ratchet set for removing caliper bolts and other fasteners
- Brake cleaner and lubricant for cleaning and lubricating brake components
If you're unsure about any aspect of the process or lack the required tools, it may be best to seek assistance from a professional mechanic.
Gathering the Right Parts:
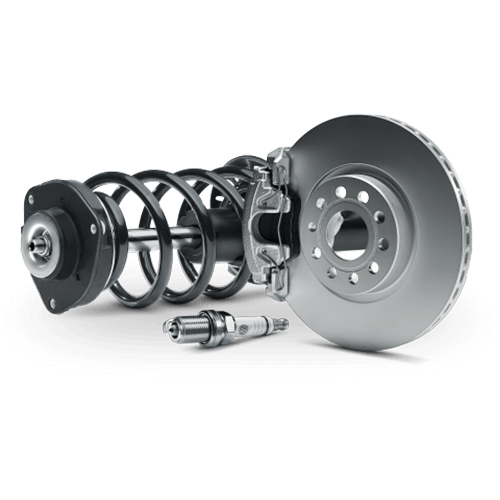
Before starting the brake replacement process, it's crucial to ensure you have the correct replacement parts for your vehicle. At Bestparts.ca auto parts you always can get right parts at lowest cost. This typically includes brake pads and possibly rotors, depending on their condition. When selecting replacement parts, consider factors such as your driving habits, budget, and manufacturer recommendations. While OEM (Original Equipment Manufacturer) parts are often recommended for optimal performance, aftermarket options can offer cost savings without sacrificing quality.
Step-by-Step Guide:
Now that you've assessed your skills, gathered the necessary tools, and acquired the right parts, it's time to tackle the brake replacement process. Here's a step-by-step guide to help you through it:
- Park the vehicle on a flat, level surface and engage the parking brake.
- Loosen the lug nuts on the wheel(s) you'll be working on, but do not remove them completely.
- Safely lift the vehicle using a jack and support it with jack stands.
- Remove the lug nuts and take off the wheel(s) to access the brake components.
- Locate the brake caliper and remove the caliper bolts using a socket and ratchet.
- Carefully lift the caliper away from the rotor and suspend it using a wire hanger or bungee cord to prevent damage to the brake line.
- Remove the old brake pads from the caliper bracket and inspect the caliper and rotor for any signs of damage or wear.
- If necessary, remove the caliper bracket bolts and take off the bracket to access the brake rotor.
- Inspect the rotor for wear, scoring, or warping. If replacement is needed, remove the rotor and install the new one.
- Use a C-clamp or brake caliper tool to compress the caliper piston back into its housing.
- Install the new brake pads into the caliper bracket, ensuring they are properly seated.
- Reassemble the caliper and bracket, making sure all bolts are tightened to the manufacturer's specifications.
- Repeat the process for any additional wheels that require brake replacement.
- Once all brakes have been replaced, reinstall the wheels and lug nuts, then lower the vehicle to the ground.
- Torque the lug nuts to the manufacturer's specifications in a crisscross pattern to ensure proper seating.
- Pump the brake pedal several times to restore hydraulic pressure to the brake system.
- Check the brake fluid level in the master cylinder reservoir and top off if necessary.
Congratulations! You've successfully changed your car brakes, potentially saving yourself time and money in the process. By following this guide and taking the time to understand your vehicle's braking system, you've taken a significant step towards becoming a more knowledgeable and empowered car owner. Remember to perform regular maintenance on your brakes and other critical components to ensure your vehicle remains safe and reliable on the road. If you encounter any difficulties or are uncomfortable with any aspect of the process, don't hesitate to seek assistance from a professional mechanic. Happy wrenching!


